Sunday, February 2, 2014

Upgrade the Cheapy Bookshelf

You know those cheapy $15 big box store bookshelves? Come on you know what I'm talking about we all have them, or had them at one time or another...Anyhow- these things can't be beat. They are cheap, sturdy and just plain do the job. But the are pretty  freakin' boring. I have seen countless tutorials on sprucing them up, but here is my own twist. I wanted to spice it up, but quick, easy and painless (by painless I mean cheap).

We started with this black 3 shelf bookcase.

Saturday, February 1, 2014

The Teenage Room Makeover-on a budget

So my daughter likes her room daring and shocking, but still super cute. I don't remember how we managed to get to where it is now, but it is definitely time for a change! She wants something more grown up and we are in the process of getting our ready to list on the market, so we definitely needed to redo this room.

So here is the current state of her room (mid-packing for the redo)...

Friday, May 10, 2013

Good Intentions- Part 2 of 3- Check the Coffee Table

Another table purchased by my friend for what was going to be our business venture (that we have since decided against). This coffee table is sturdy and basic, but had great potential.


The only thing missing was the glass inserts. But for $5 you can't beat it.

Tuesday, May 7, 2013

Re-Revamped Kitchen- Less than $300

So...as it usually goes, in the middle of adding to our kitchen something on Pinterest or another DIY blog change my course.

So hubby, my ever so supportive victim...uh yeah I mean partner in crime, gladly obliged me. :) I am so spoiled, but shhh don't let him know that I know that. ;)


Thursday, February 14, 2013

Pinterest Inspired...Towel Rack

Another Pinterest inspiration...seriously hubby has banned me from Pinterest until I get all of my current projects done....what a buzzkill (but he is right...my creative brain had spilled out into my home, I have to say it is kind of scary).

We have been working on our relatively small quaint master bathroom for a while. Not that we are doing a major reno we just kept getting sidetracked. Well I am on a mission to get this sucker finished once and for all.

Part of that is to replace the cheapy towel rod that the builder put in, but I wanted something cool and quaint like the size of my bathroom. Then I found, angels sang and it was magical...only kidding but I am sure you DIYers know what I am talking about. You know that moment when the thing that suits your vision to a "T" it is kind of euphoric...right?!?

Ok so now to knitty gritty...this is what I found, the inspiration-

Wednesday, February 13, 2013

How to Refill a Lysol No-Touch Refill

I recently realized that ever since we purchased our No-Touch system I have never bought any refills. Don't get me wrong we we have to replace plenty, they have just been purchased by my daughter or hubby in rushed trips to the store. With that being said I was grocery shopping the other day and remembered that we needed another refill, I about feel over when I saw how much these little container, that don't last long at all, actually cost...almost $5. So I picked up a $2 HUGE bottle of Dawn and I was on my way.

The rest of the time in the store I kept thinking to myself...I saw a tutorial on how to refill a Swiffer bottle so I am sure there is a way to refill these Lysol bottles too.

Well I figured it out...so in an effort to save you the trouble and save your pocketbook some cash this is what you do:


So you take your empty Lysol bottle and a table knife...

Sunday, February 10, 2013

From boring to...WOW!! Counter Tops

Since I had such great success painting my dull kitchen counter tops, I decided to go all in. Now every counter top in my house has been painted. Sometimes I go a bit overboard when a new technique works out for me...many times it is to my downfall and my hubby's dismay. Luckily he and I are crazy about the new look!!.

I purchased a kit to do my kitchen but I tried something different in the bathrooms...Check it out.

4 colors of Apple Barrell craft paint, sea sponge and sealer


Inexpensive window dressing

My master bathroom was sooo boring but the ideas that we have to make it higher-end are a little out of reach financially right. So we decided to liven things up with some inexpensive touches (final bathroom will be posted very soon...I hope).

One update we decided to do was to transform the boring, non-opening, frosted, picture window (I guess that is what it is called) that is ugly into something...well- AWESOME.

Here is what we started with (sorry it is dark- its hard to get a straight on shot of this window, during the day- but you get the idea)...

Friday, February 8, 2013

Pinterest Inspired- Large Candlesticks

**Please excuse the mess, my garage is in a perpetual state of "project progress" ;)


Browsing through Pinterest I happened upon a pin showing some large (floor) candlesticks that a blogger (sorry I lost the pin so I can show you the original post) had made using various wood pieces from the local hardware store.

Wednesday, January 9, 2013

Tuesday, November 13, 2012

Let there be light! In Progress

The builders/designers of my house seem to be smoking something when it came to the kitchen, since there were only 3 full-size upper cabinets but there was clearly space for another cabinet to the right of the sink (above the dishwasher). See what I mean:

(We have made a few changes since this picture- I will take a full kitchen picture once our current project is due).

Dining room success!!


Since my kitchen is super small (no where to store the larger of my small appliances, ie- electric griddle, electric skillet, etc.) I have been hunting for a cabinet/sideboard/hutch thingy that was large enough to store these items. But of course keeping with my mission it couldn't cost a ton of money.

During my most recent trip thrifting I finally found the illusive beast that would occupy my dining room. It was a bit more than I would normally pay for an item that I wan't to redo but it was too perfect to walk away from just because of price, not to mention it was in fantastic condition.

I paid $200 +a $20 delivery fee for this:


The only problem is I don't need the top (its going under a window). So here is the end result:


Friday, September 14, 2012

Dining table update

My hubby's grandparents handed down their dining set to him, it was nice quality furniture but was super dated (60's). So of course I had to modernize it. Unfortunately I don't have the before pics (i did this before I started the before after thing).

I removed all of the foo-foo dated stuff on the China cabinet and primed and painted the cabinet black. I replaced all of the hardware with simple brushed nickel pieces and I think it turned out great.
The table was stripped of dated materials and strain, then I primed it and painted it black. The original chairs were heavily damaged do we just decided to replace them. We originally purchased some cheapy chairs from wal-mart but they aren't holding up well.

Here is what we had before, excuse my craft stuff on the half wall (I am in the middle of painting my Christmas Village):

Sunday, July 22, 2012

My best craigslist find to date- dresser

Ok, so looking for a dresser on craigslist and I lucked out and found this beauty for $25...what, what???
Yes, yes she needs some work and a lot of TLC but I love a challenge. But even more than a challenge I love a bargain. Can't wait to get started and see how this turns out. I will post more shots as I make some progress.

Wednesday, July 18, 2012

Gettin' Gussied Up!- Side table to makeup table


My previous project to create an awesome tv cabinet out of a china cabinet has led to my poor, cutesy side table (turned tv stand) being homeless.

She is much cuter in person

Monday, July 16, 2012

A new focal point-tv stand

***Since I have added this to my living room and proudly sharing the pics with people I am so happy that everyone raves about it! One person thought that I bought it for....thousands! WHAT???

All decorators seem obsessed with making something other than the tv a focal point in a living space, but let's face it the tv is a focal point in most homes today. And with all of the additional components it can become an unruly mess quickly!

That is exactly what happened to me. My idea for our main living room (my room) was to keep it simple, nice and simple. So here is what ended up happening to my nice and simple tv area :(

Friday, July 13, 2012

Sit a Spell


Hmmm, what is with this chair? Did someone actually think it was comfortable? Well it will be comfortable...not just to sit in but to look at.

Provocative Pinterest

If you are anything like me, you jump on the Pinterest website with all intentions of only perusing the pages for a few minutes, then suddenly realized that it is far passed your bedtime and your butt cheeks are sore from sitting for so long. Oh well, I checked my boards and other info yesterday and was amazed that I have 24 boards and 3438 pins, most of which desperately need cleaning and organizing. Sadly as I browse through my numerous posts I realized that I have only completed a few of the ideas that I definitely wanted to do.

Let's recap shall we:
  • Tried and failed at making my own wood stain with vinegar and pennies- never came close to turning green
  • Painted my kitchen countertop
  • Antiqued furniture
  • Made wood furniture look like barn wood, well sort of
  • Made homemade laminate wood floor cleaner
  • Created the shadowbox piggy bank (this one I really loved, you can't really screw it up)
  • Mod Podged and glittered stuff
  • We are in the process of collecting pennies from year of birth for me, hubby and our girls (4 sets) so that we can make keychains- everyone is on board with this one, they love the idea and I love that my little family is soooo close!
  • Put solar lights into mason jars for backyard table lights
  • My girls have cut up countless t-shirts to refashion them
  • Painted countless pieces of furniture
  • Removed mildew stank from my towels
  • Already knew how to find the best deals at Target...read this in a magazine years ago
  • Made the candy cane/marshmallow/chocolate cocoa stir sticks, if that is what you want to call it, they weren't too pretty
  • Created an emergency and family info binder
Ok, ok, you get the point. I have actually tried quite a bit but this doesn't even put a dent in all of the pins that I want to try. So maybe I need to take a break from perusing the picturesque pages of Pinterest and passionately partake in producing some perishables and pretty projects from Pinterest...see what I did there ;)

What projects did you find on Pinterest (or elsewhere) that you are dying to try??

Bold Statement-Laundry Room

Although I love the outcome of my laundry room, I felt the dinky little, cutesy signs above the shelf were to small. So time for a cheap, quick fix.

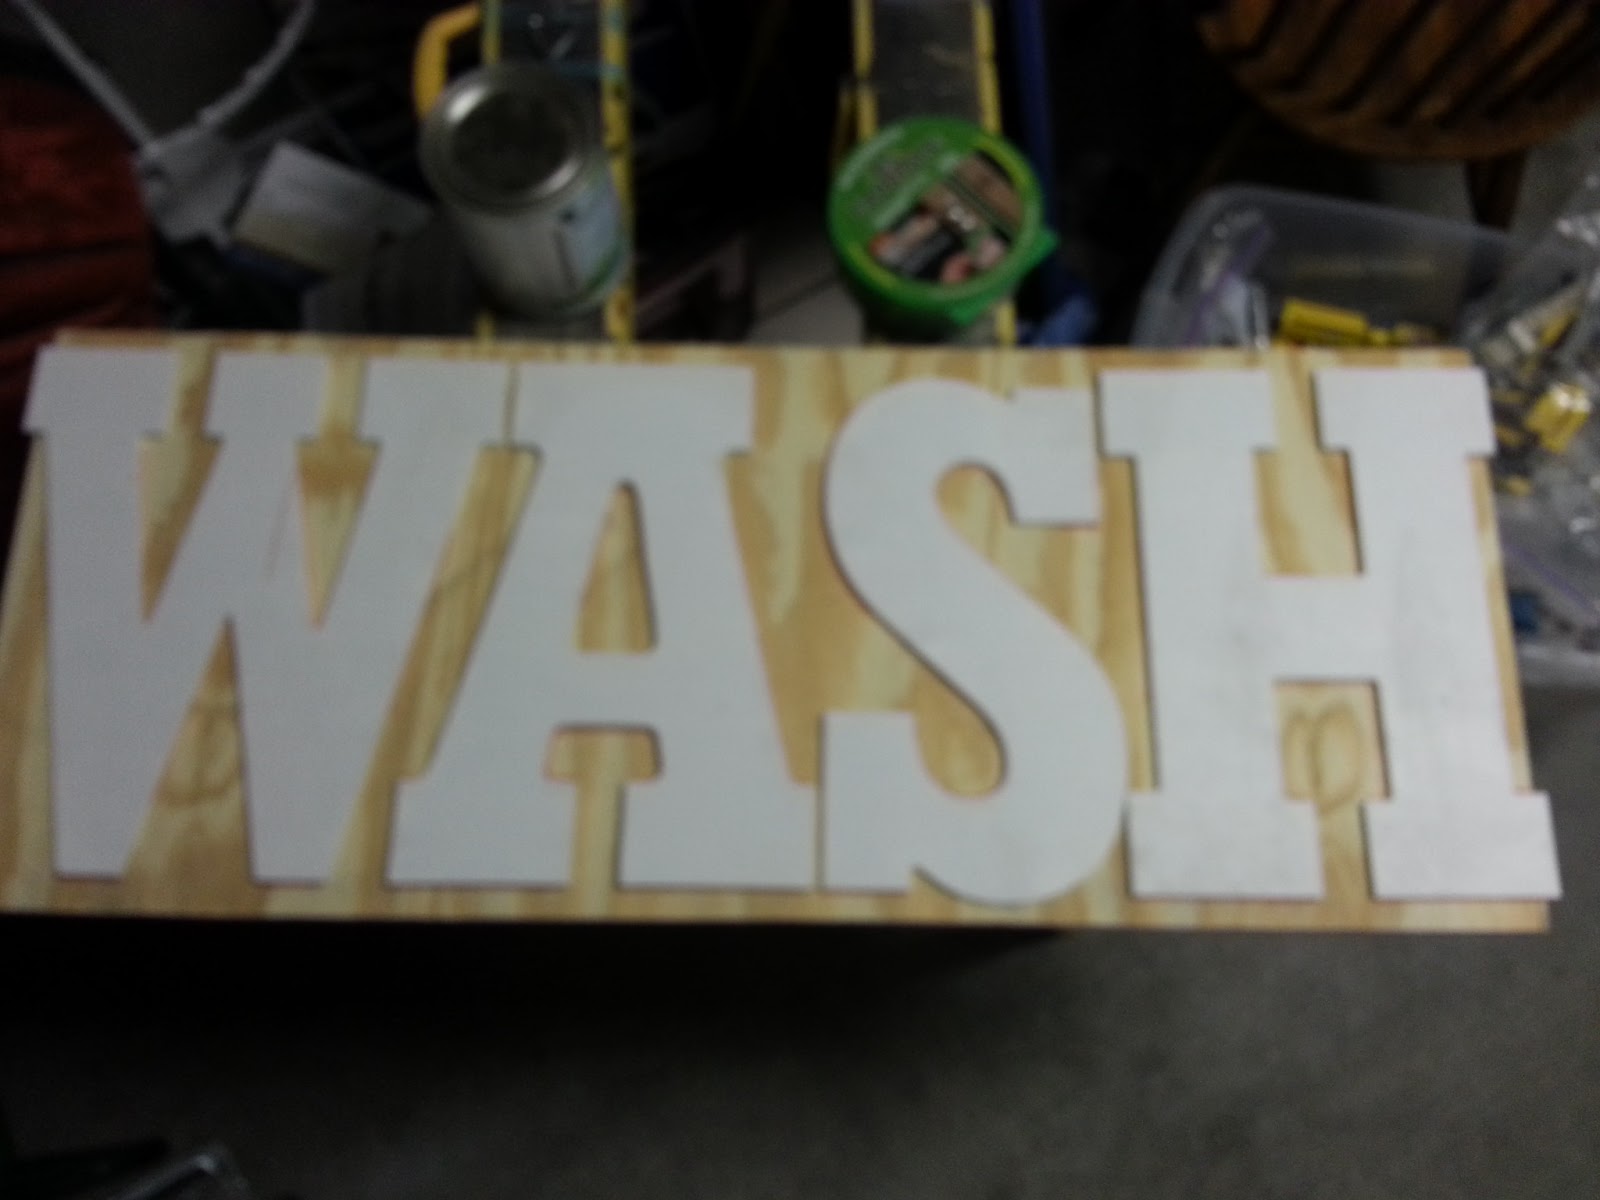
The fix...1' x 6" wood letters from Hobby Lobby and paint.
The letters cost about $3/ea and I bought 4. Already had the paint so total project cost $12.
The original idea was to paint the letters white and hang them right on the wall...but had to change that a bit (a new idea popped into my head)

So new plan, glue the letters to a piece of scrap wood I had lying around (happened to be the right size- how perfect) and paint the whole thing. To get the spacing right (it was going to be a tight fit) I just laid the letters on the board as best as I could fit and traced parts of each letter so I knew where it was supposed to go. 


The "S" looks a bit crazy but I realized during this step that it is a touch smaller, but no biggie. The left edge of the "W" and the right edges of the "H" were hanging off the board so I sanded them flush to the edge.


 Then I got the crazy idea to paint this whole thing black, then paint over and rough up the edges to show some black here and there...

But I didn't like it and decided to paint the whole thing white...

First coat...


Second coat...

Now just need hubby to hang it up, stay tuned...